We’re big fans of Ubiquiti’s security cams. The hardware is solid, the software works well, and the G4 Instant is no exception. We use it in our garden, where there’s power but no wired network. Thankfully, the G4 Instant works over Wi-Fi just fine.
Out of the box, the G4 Instant is focused from a few meters to infinity. That’s great for security purposes, but we’re using it for something entirely different!
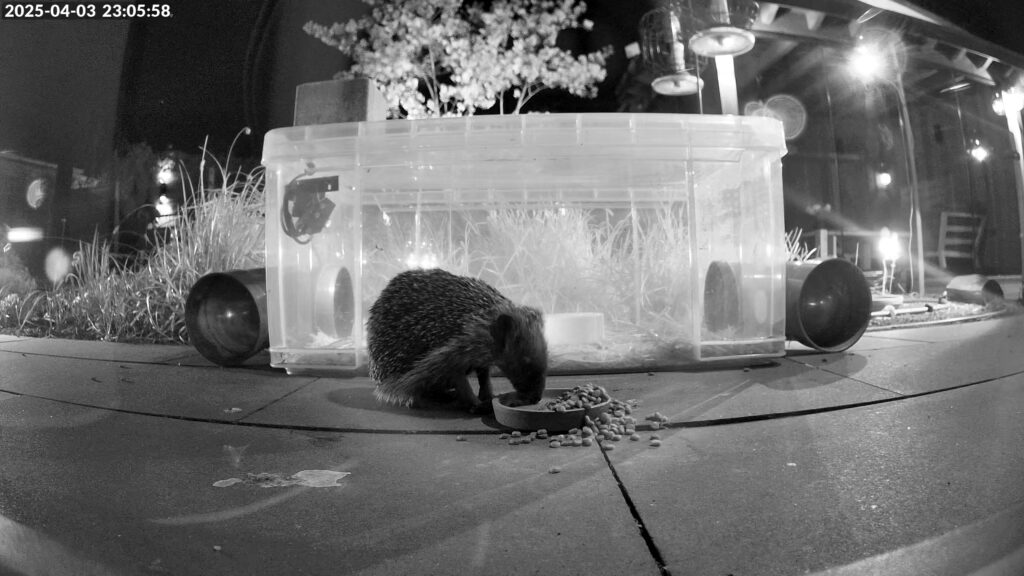
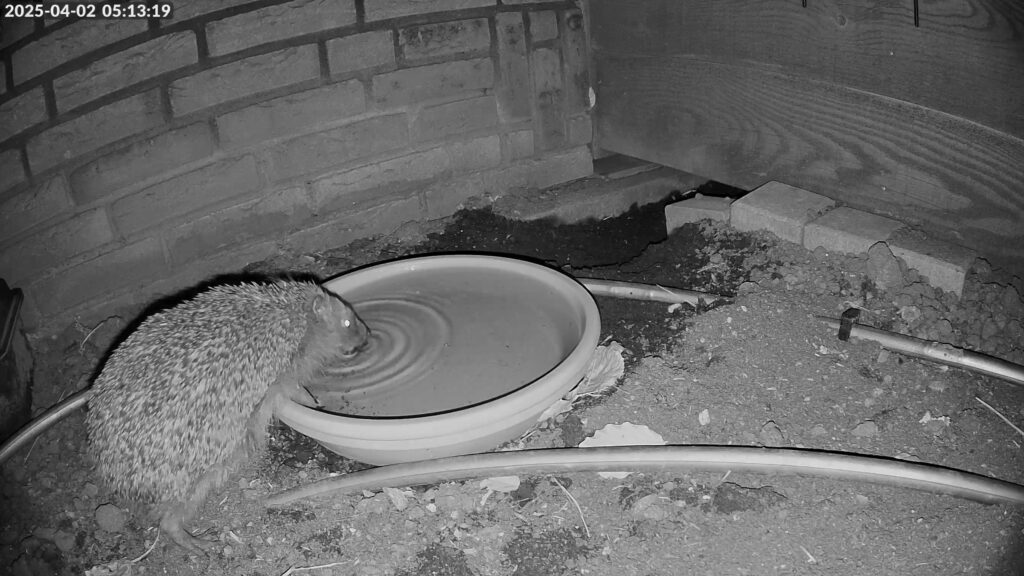
We’re monitoring our local hedgehog population. Yup, the garden is full of them: tiny, spiky little pals. And it’s just fun to see what they get up to at night. We place the G4 Instant in various spots around the yard to catch their nightly adventures. The problem? The default focus is too far out. The hedgehogs are blurry because they’re too close.
Unfortunately, there’s no setting in the software to change the focus. If only Ubiquiti had just given this camera some sort of focus option… sigh, oh well (sadly, even the newer G6 Instant doesn’t support a focus function).
But here’s the good news: you can adjust the focus manually by opening the camera and rotating the lens. In this blog post, we’ll show you exactly how to do that.
Disclaimer: This will definitely void your warranty. And yes, you might break the camera if you’re too rough with it. So do this entirely at your own risk.
How to Open and Adjust the Focus of the G4 Instant
Here’s a step-by-step breakdown of how to disassemble the G4 Instant and manually adjust the lens focus.
Some things to keep in mind before (or while) you crack open your cam:
- Don’t overtighten any screws—everything inside is tiny and fragile.
- Use a proper electronics screwdriver. Big DIY screwdrivers will destroy these small screws instantly.
- Avoid touching the lens or the glass cover with your fingers. Fingerprints can ruin your image. If it happens, a bit of isopropyl alcohol will clean it up.
- NEVER touch the image sensor. It’s exposed when the lens is off, and it’s extremely sensitive.
- Your camera is probably no longer 100% water-resistant after this mod.
- And in case it wasn’t clear enough: this will absolutely void your warranty.
- Once you’ve opened the G4 Instant once, it’s much easier the next time around.
Step 1:
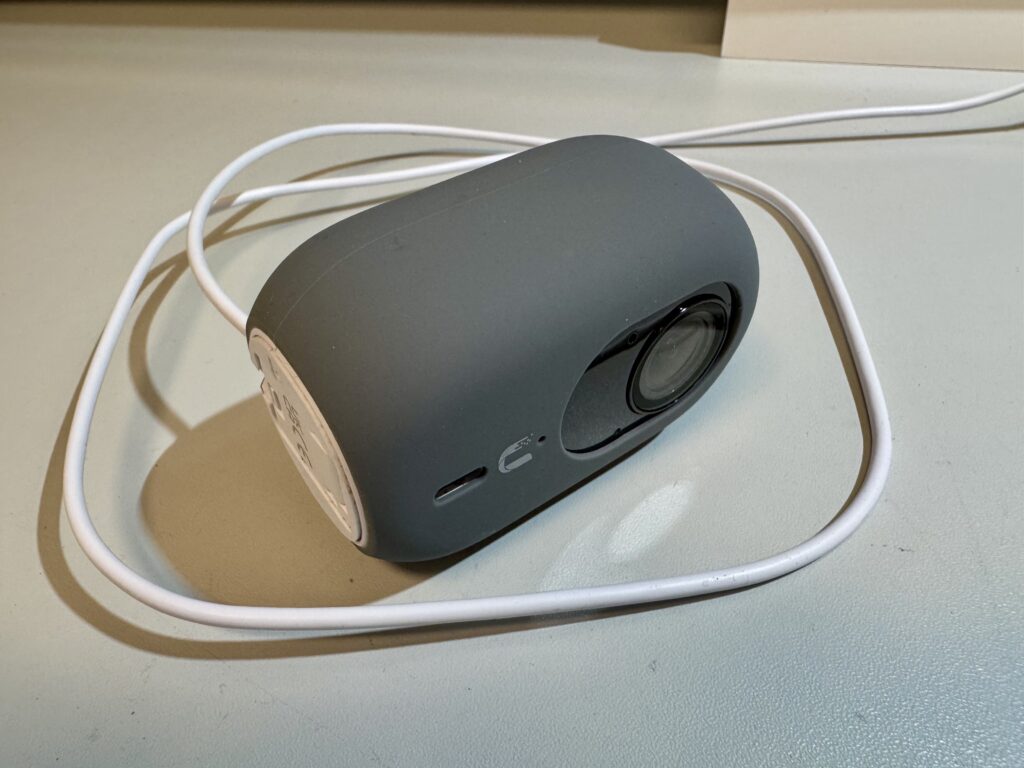
Remove the USB cable. If your camera has a wall-mount, take it off the mount. Also remove the plastic cover if it’s still on.
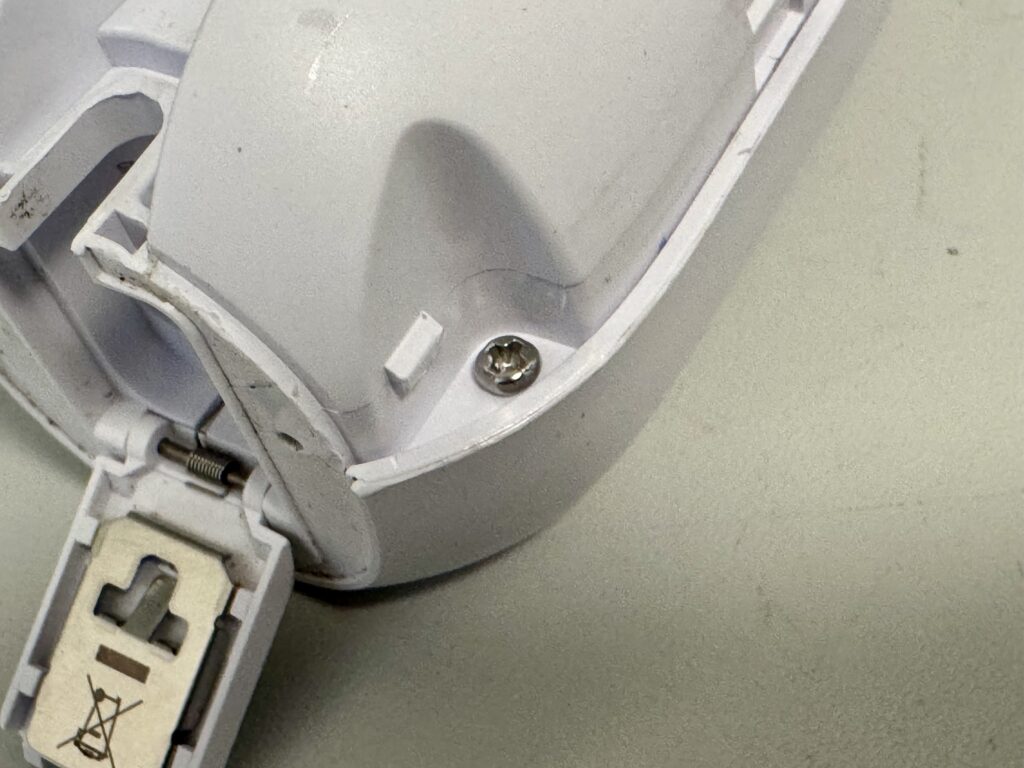
Step 2:
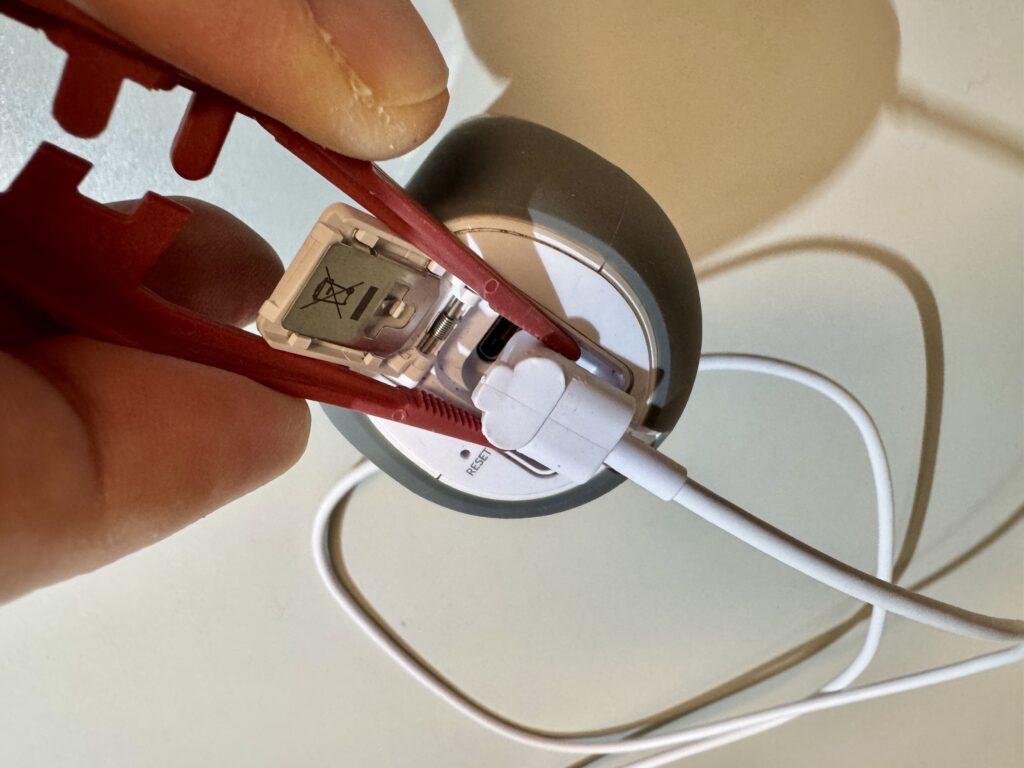
Now comes the hardest part: removing the back cover. It’s clipped in at six points on the inside, and it’s pretty snug. Use a plastic prying tool and gently work your way around until you start to create a gap. Be patient. Widen the gap. Light scratches or tiny dents in the plastic are almost impossible to avoid.
Once the back cover pops off, the worst part is over.
Step 3:
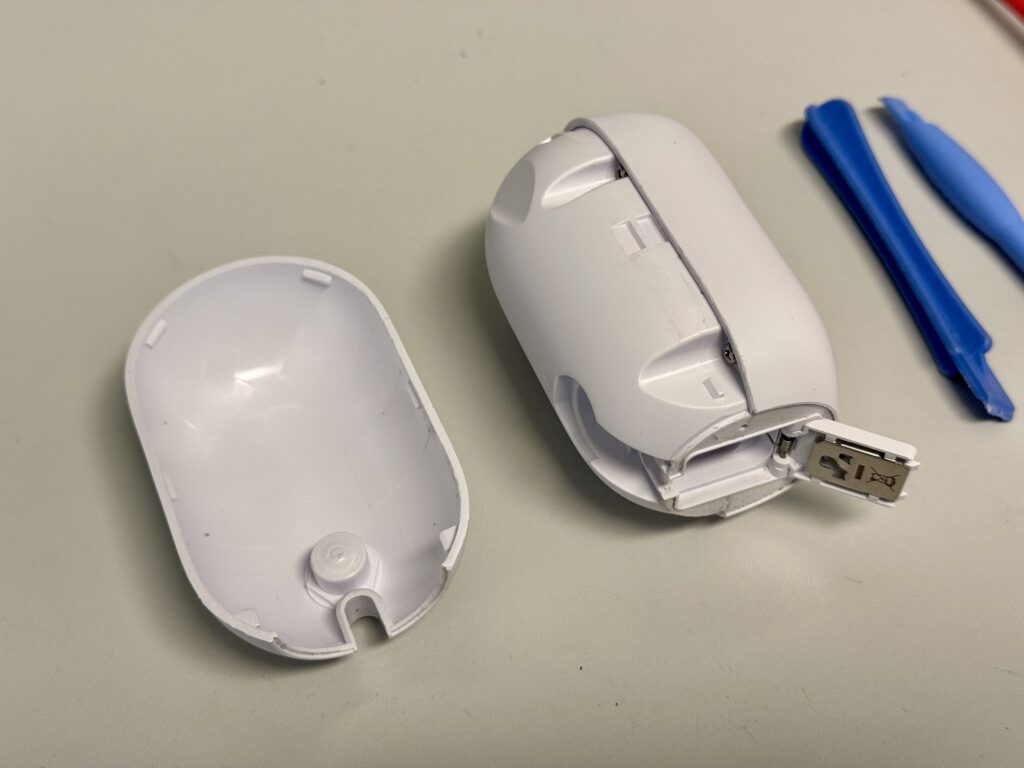
Next, unscrew the inner housing. There are five tiny screws holding it in place. I used a PH0 Phillips screwdriver. Got it years ago as part of an iFixit kit for electronics. Super handy.
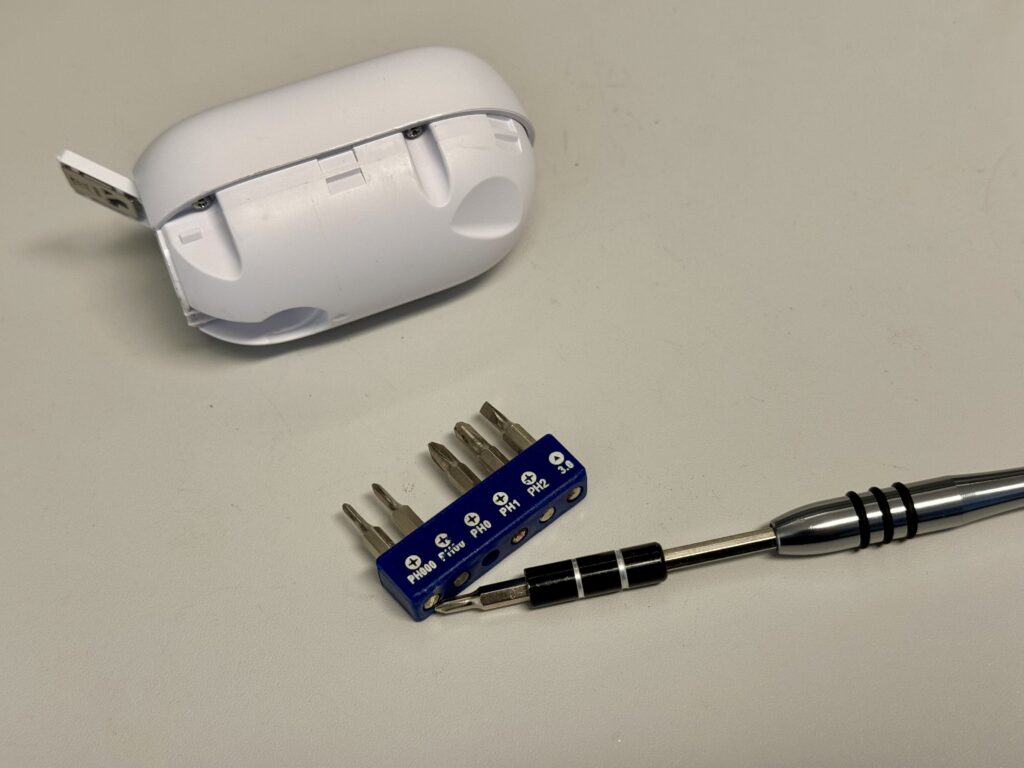
After removing the screws, pull the inner housing off. It’s slightly glued on the inside with some thermal adhesive, so you might need a bit of force. But it should come off fine.
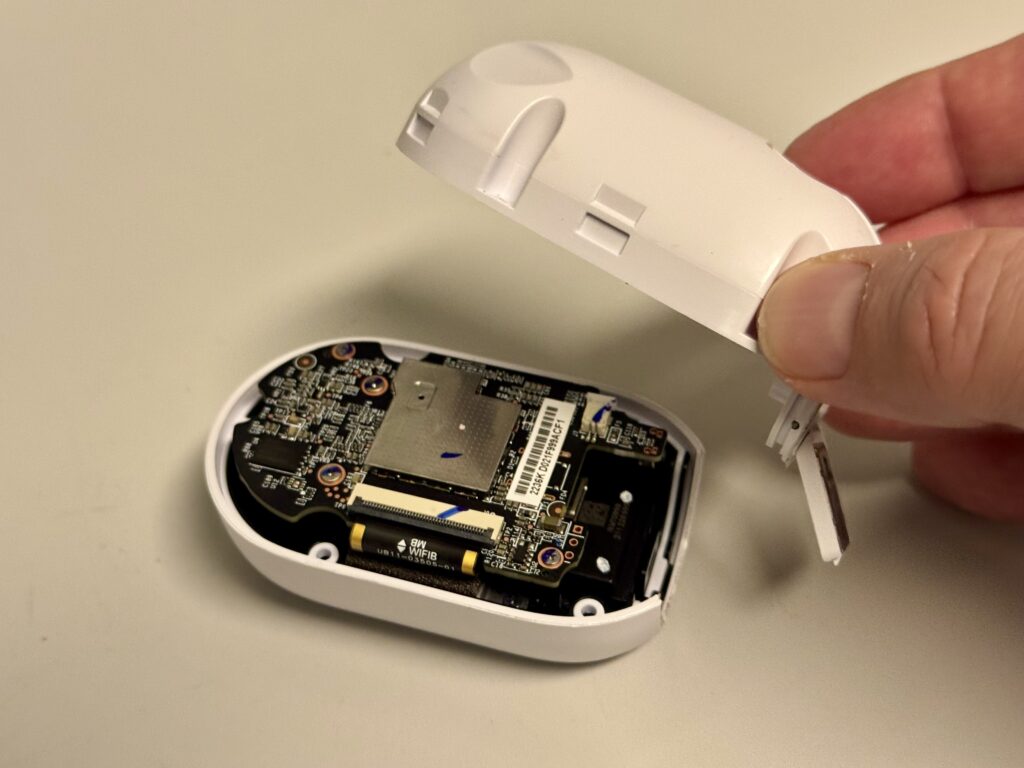
Step 4:
Now remove the four small PH000 screws that hold the motherboard in place.
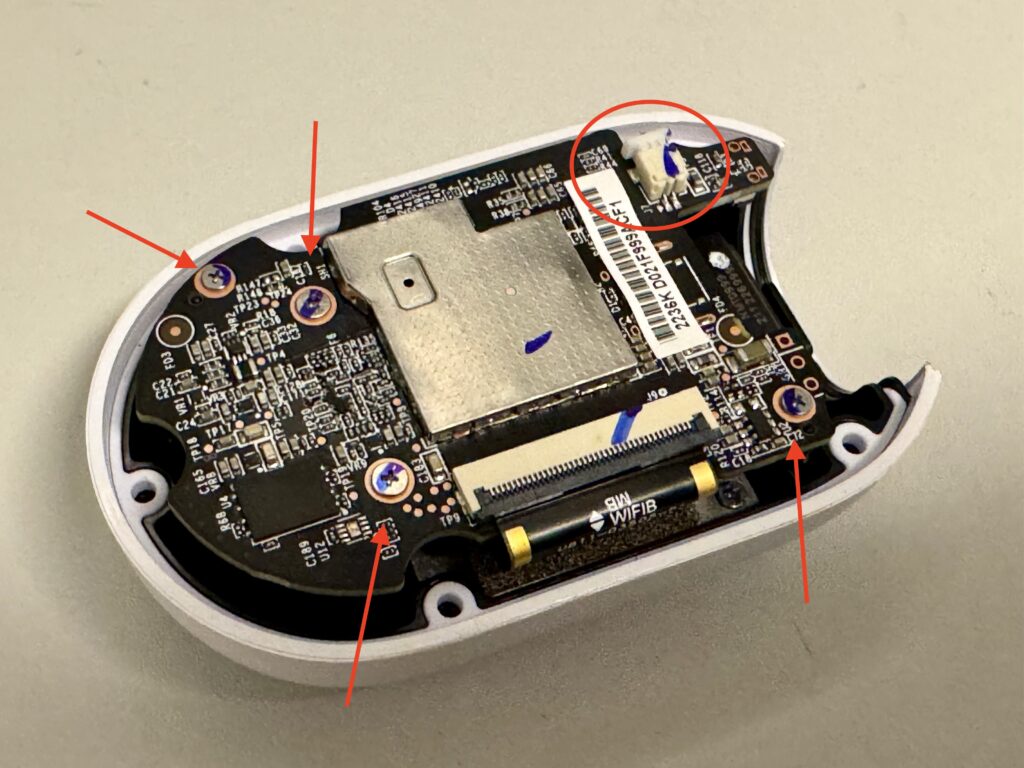
Step 5:
Unplug the power connector from the board.
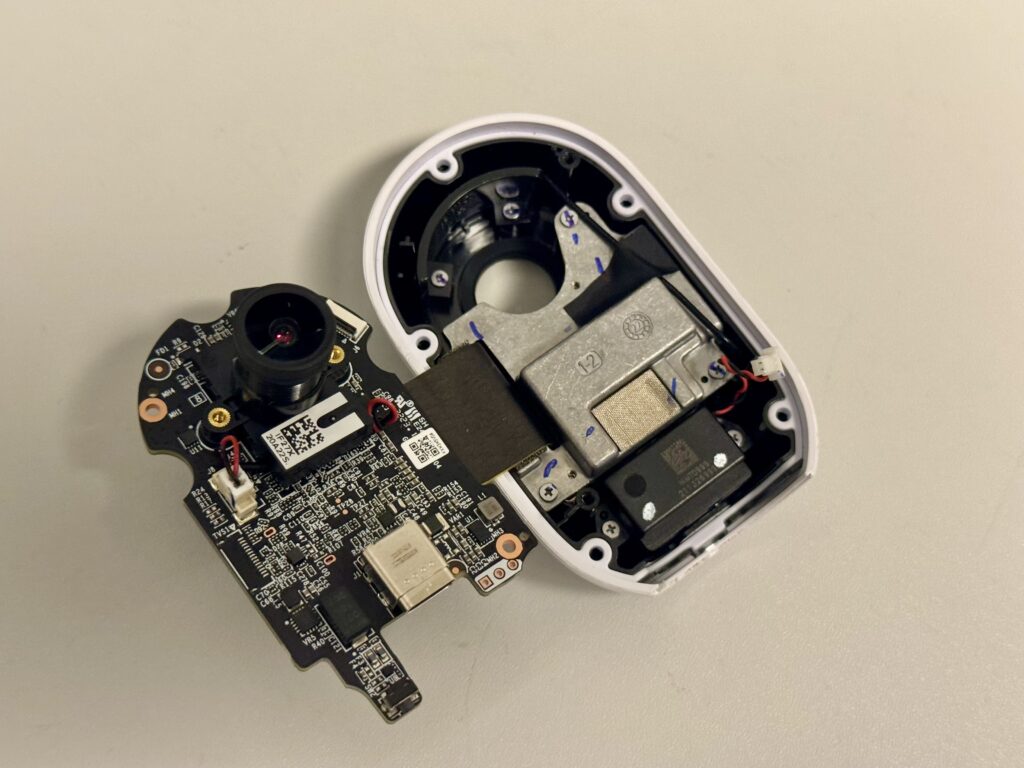
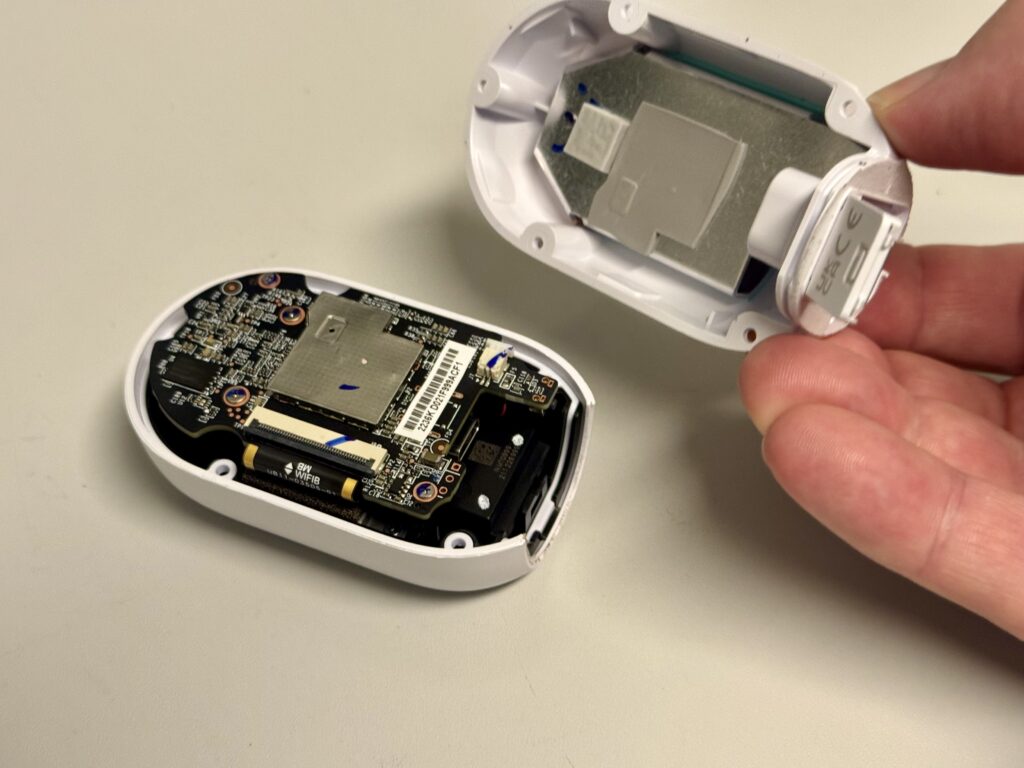
Step 6:
You can now flip the motherboard over. Leave the ribbon cable as it is. The camera module is almost free, just detach the tiny connector that activates the infrared filter. You should now have the lens module completely loose.

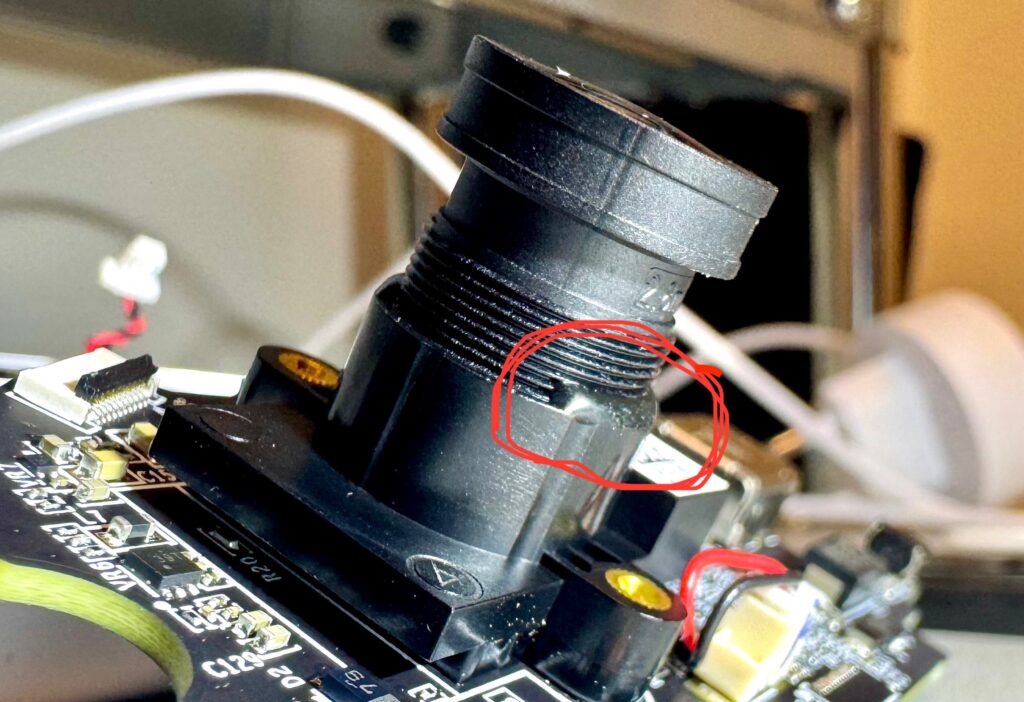
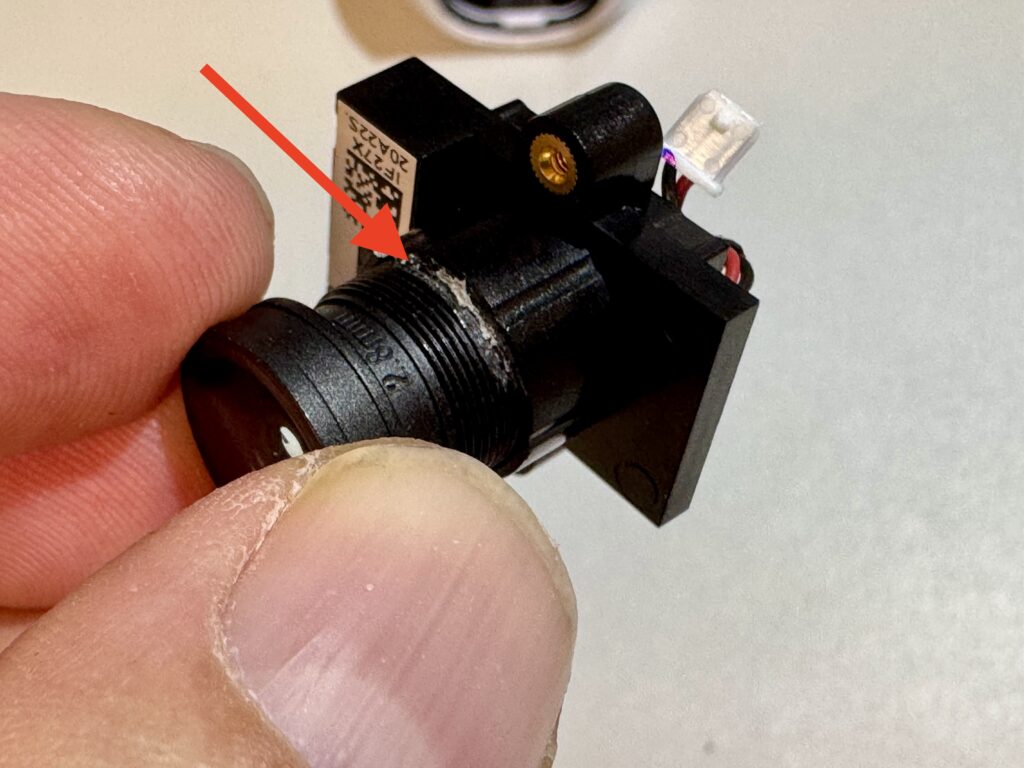
Step 7:
Look at both sides of the lens thread. There’s a bit of glue to lock it in place. Carefully scrape that away with a sharp knife. Once enough glue is gone, you can turn the lens. The first turn needs a bit of a snap.
Step 8:
Reattach the lens module to the motherboard. For this, you’ll need the two smallest screws. Don’t forget to reconnect the small cable.
Step 9:
Time to test and focus. Reconnect the power cable, plug in the USB, and wait a few seconds until the cam is back online and connected to your Wi-Fi.
Step 10:
This part takes some finesse. Check if the focus is to your liking. Gently lift the motherboard just enough to rotate the lens in tiny increments, millimeters make a big difference. Be careful not to damage the cables.
Check the live feed and see if the image is sharp when pointed at a close object.
Repeat as often as needed, every time rotate the lens just a tiny bit and see the difference.

Step 11:
Found the perfect focus distance? Great. Now you can reassemble everything. Screw the inner housing back on with the five screws. Test one more time to be sure. Happy? Snap the back cover into place and you’re ready.
Done! Now watch those hedgehogs in crisp detail 🦔
And that’s it—you’ve now turned your G4 Instant into a close-range wildlife cam. Perfect for tracking tiny garden visitors like our prickly little friends. Just remember: don’t expect support from Ubiquiti after this mod (they won’t be thrilled), but hey, the sharp close-ups of hedgehogs? Totally worth it.
Happy hedgehog spotting!